Introduction
Today we’re going to delve into one of the fundamental camping essentials, something that can turn a good camping trip into a great one: setting up a tent. Knowing how to pitch a tent is a crucial skill, whether you’re a casual weekend camper or a hardcore wilderness explorer. By mastering these tent setup skills, you’ll ensure that you always have a safe, comfortable, and dry place to rest your head, no matter where your travels take you.
What You’ll Need: Essential Equipment for Tent Setup
Before you can dive into setting up your tent, let’s go over the tools and equipment you’ll need. Of course, you’ll need a tent, but what else? Depending on the type of tent, you might also need tent poles, tent pegs, and a mallet or hammer to drive those pegs into the ground. A groundsheet or tarp is also crucial, as it can protect the bottom of your tent from moisture, dirt, and sharp objects. Finally, consider carrying some extra guy lines and pegs in your camping gear, just in case you need them. Trust me, having essential camping equipment organized can make the setup process much smoother.
Choosing the Ideal Campsite
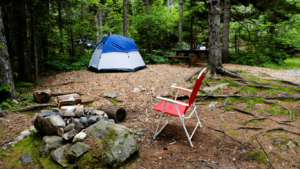
One of the key steps, before you start unpacking your tent, is selecting a campsite. You want to find a spot that is flat and free of sharp objects like rocks or branches when setting up your tent. It’s also a good idea to look for a site that’s slightly elevated. This way, if it rains, water will flow away from your tent instead of pooling around it. And remember, always respect nature and camp in designated areas when they’re available.
Unpacking and Organizing Your Tent Gear
Alright, you’ve chosen your ideal campsite, now what? Well, it’s time to unpack and organize your tent gear. Lay out all the pieces so you can see what you have to work with: tent, poles, pegs, guy lines, and groundsheet. This process of unpacking camping gear methodically can help prevent any mishaps, like realizing you’re missing a peg halfway through the setup
.
Laying the Tent Groundsheet
Next up is laying the tent groundsheet. This simple piece of fabric or plastic is an unsung hero in keeping your tent – and you – dry and comfortable. It should be spread out in the area where you’ll pitch your tent. Try to align it with the shape of your tent as best you can, and tuck any excess material under it so it doesn’t collect rainwater.
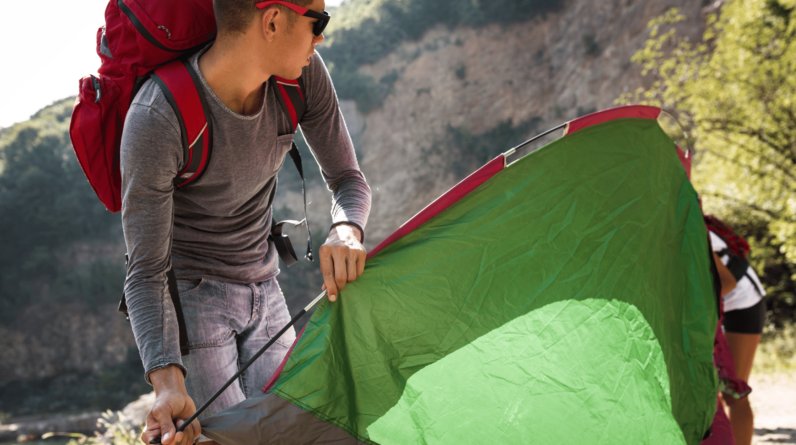
Pitching the Tent: A Step-by-Step Guide
Now we’ve arrived at the main event: setting up the tent. This process can vary depending on your specific tent design, but here’s a basic guide to get you started:
- Lay out the tent on top of the groundsheet.
- Assemble the tent poles and thread them through the corresponding flaps on the tent.
- Raise the tent, usually by flexing the poles and securing them in the corners of the tent.
- Ensure the tent is properly aligned with the groundsheet and adjust as necessary.
Remember, this is just a basic guide, and it’s crucial to be familiar with the instructions for your specific tent.
Securing Your Tent with Pegs and Guy Lines
Once your tent is up, it’s time to make sure it stays that way. That’s where pegs and guy lines come in. Start by securing the corners of the tent with pegs, driving them into the ground at an angle. Then, attach the guy lines to the tent and stretch them out, securing them with more pegs. This process is important in adding stability to your tent, ensuring it can withstand wind and other weather elements.
Essential Tips for Tent Setup
By now, you’re well on your way to becoming a pro at setting up your tent. But before we finish, let me share a few additional tips that can make your tent setup experience even smoother.
- Practice at home: Try setting up your tent in your backyard before you hit the trail. This way, you’ll be familiar with the process and can troubleshoot any issues in a stress-free environment.
- Check the weather: Try to set up your tent while the weather is clear. It’s much harder to do in the rain or wind!
- Bring a headlamp: If you arrive late at your campsite, a headlamp can free up both hands to work.
With these camping tips, you’re ready to tackle tent setup like a champ!
Maintaining and Taking Down Your Tent
You’ve successfully set up your tent and enjoyed your camping trip, but what now? Before you pack up and head home, it’s important to properly take down and pack up your tent. Start by removing all your belongings and shaking out any dirt or debris. Carefully remove the pegs and fold up the guy lines. Take down the tent poles and gently fold the tent, being careful not to pack it away wet or damp, as this can cause mildew.
Conclusion
And there you have it – a comprehensive guide on setting up a tent. With these skills under your belt, you’re ready to tackle any camping adventure that comes your way. Just remember, like any new skill, practice makes perfect, so don’t get discouraged if it takes a few tries to get it right.
If you’re looking for a new tent check out our tent reviews! We have a ton of great reviews so you can find the perfect tent for your situation.
Frequently Asked Questions (FAQ)
- Can I set up a tent by myself? Absolutely! With some practice, anyone can set up a tent by themselves. Some tents are specifically designed for easy solo setup.
- What if I lose a tent peg? It’s always a good idea to bring extra tent pegs just in case. But if you’re in a pinch, you can use heavy rocks to help secure the tent corners.
- Do I always need to use a groundsheet? While it’s not always necessary, it’s highly recommended. A groundsheet helps protect the bottom of your tent and keeps you dry.
Remember, nothing beats hands-on practice when it comes to perfecting your tent setup skills. So get out there, find your ideal campsite, and happy camping!